junior week oct. 9th, 2025
i didn't wanna make a full scale keyboard, so i decided to start with a macropad to learn some of the basics before moving onto the keyboard.
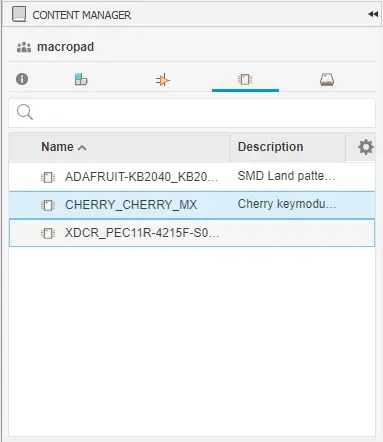
library
started by finding all the components for my pcb, using cherrymx switches (as they are the norm) along with diodes, an encoder, and the kb2040.
after this, i started working on the schematic
schematic
i learned from a video that you could just use labels to wire up things in the schematic instead of actually wiring them, so i did that to make my schematic neater.
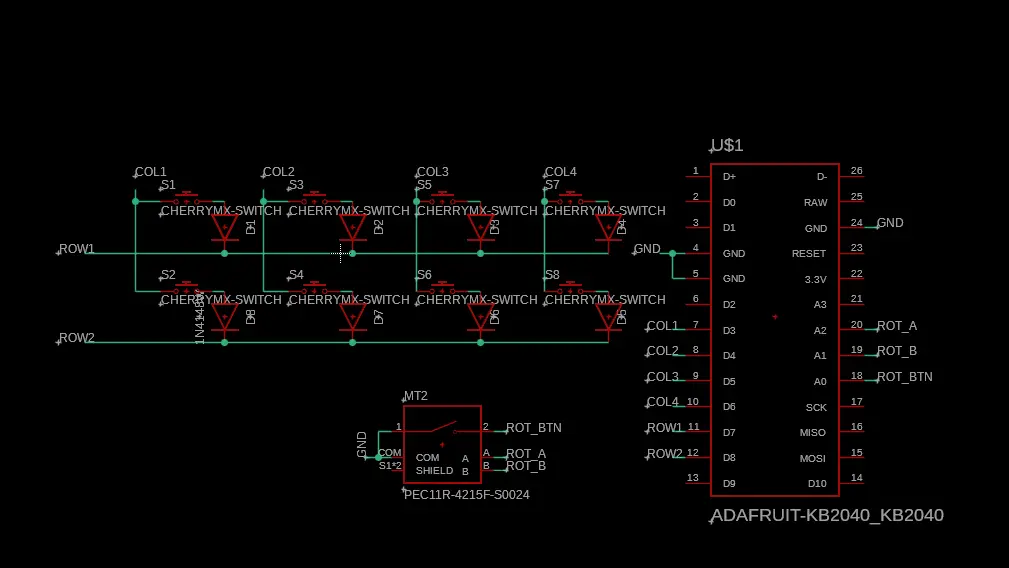
the pcb will utilize a 2x4 matrix to allow for a total of 6 pins to be used on the kb2040 rather than 8 total pins. while this isn't a huge improvement, it's good practice for when i need to scale up when making the actual keyboard.
with this done, i moved onto wiring it all up
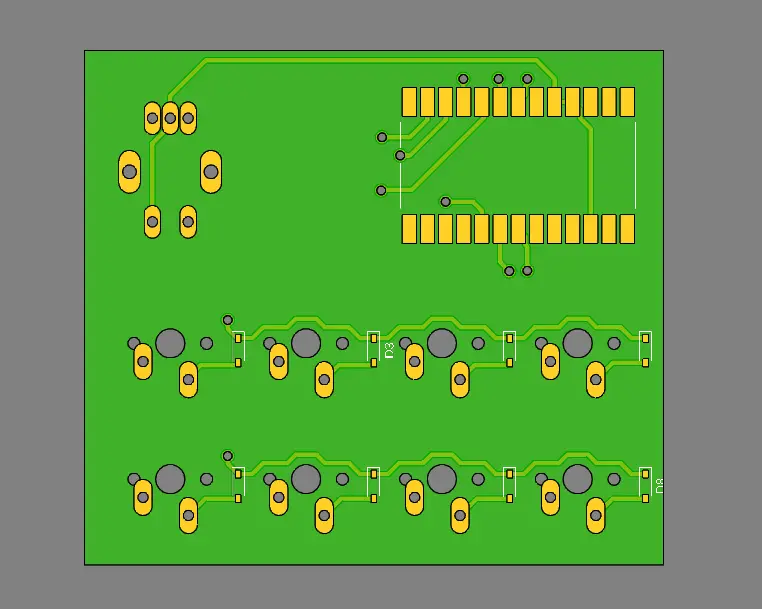
pcb
due to how keyboards work, i needed to make a double sided pcb. this is because switches are placed above the pcb, while diodes are generally placed under the pcb to hide them. additionally, i decided to place the kb2040 under the pcb to hide it.
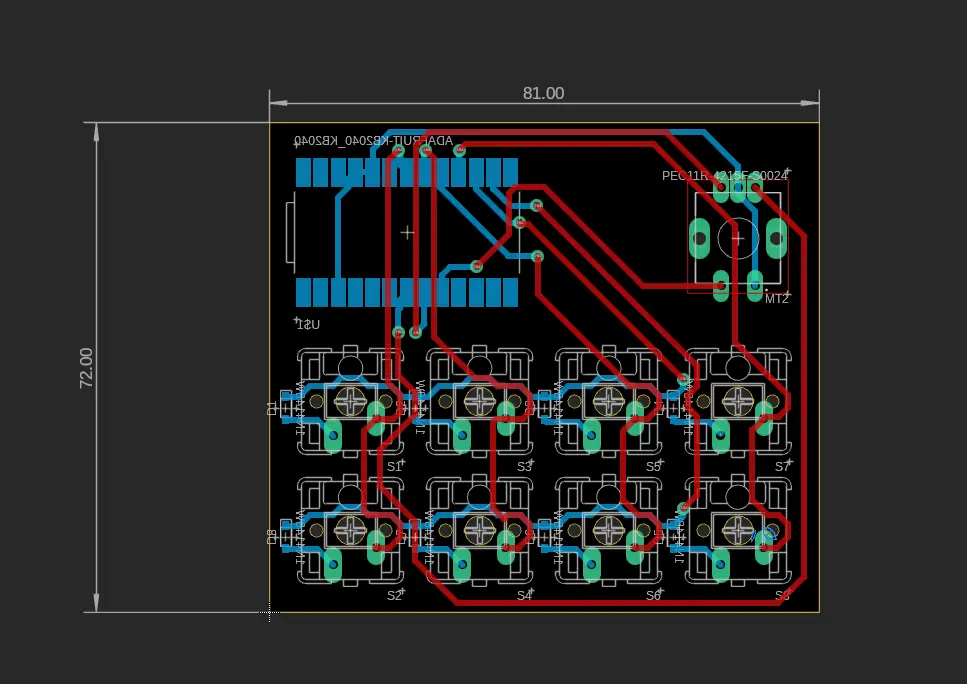
i also adjusted the packages for the pads on the switches and the encoder so our pcb mill wouldn't struggle when cutting it out.
as a result, however, the pads on the holes for the switches now touch one of the plastic holes for the switches. i'm not sure if this is an issue, but i'll have to check
3d pcb
with this all done, this is what the pcb looked like:
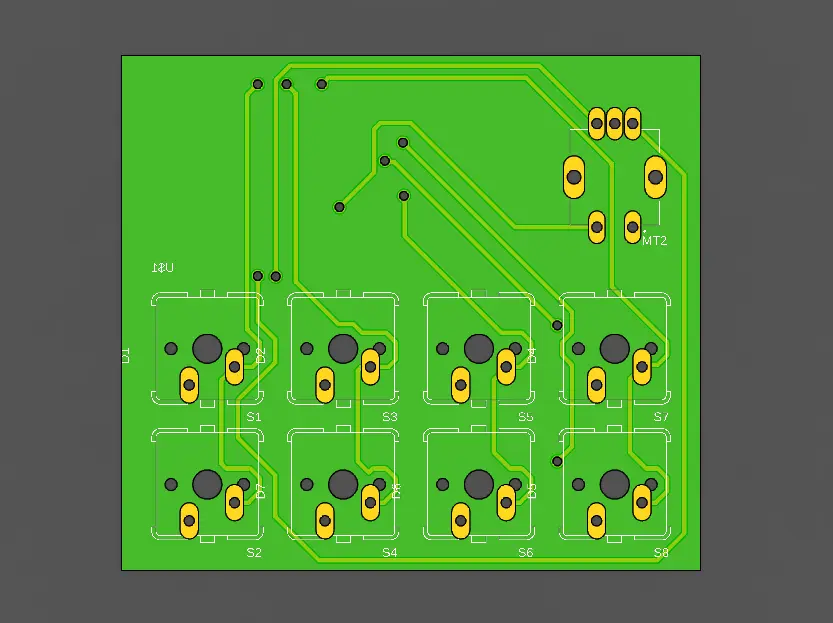
i still need to add the 3d model, as i plan on building the chasis based on the pcb, so knowing where everything lies will be useful. additionally, i plan on creating custom keycaps, so i'll have to take the dimensions of the switches anyways.
moving on, i should be able to start ordering the switches and diodes soon, but i'm going to start on a base after importing all the 3d models of the pcb.